Your Carfty Girl Header

. .

Saturday, February 9, 2013

Bow Tutorial


Here is the Bow Tutorial I promised you. They are very easy to make and most people will be envious of your bow making powers, but with great power comes great responsibility.

Supplies:

The best ribbon to use is wired ribbon, because its easily manipulated and holds its shape. For this bow I used a 8ft piece of  2" wired ribbon. I got this ribbon at Sam's Club after Christmas sale I love the black polka dots it goes with everything. Costco and Sam's ribbon is great, they come with 50yards at a reasonable price.


Here are a couple of notes before we get started:

1. Before you start there are two ways to finish this bow. One, you can use wire, and if you are using wire, you want to cut it before you start, cause it sucks to finish the bow and try to cut the wire with one hand. Trust me I've been there. Second, you can just make a knot with the tail of the ribbon.

2. While making the bow you are going to continually hold it together with your left hand.

Ok lets get started...

First. You will make a loop at one end of the ribbon. This will be the middle loop of you bow. Be sure to leave enough of a tail inside the loop to hold onto and secure later.


Second. This is now where I put my thumb through the middle loop and hold the bow together with my thumb and index finger till I'm done. With your right hand take the tail and give it a Twist, This ribbon is one sided so it requires you to twist it to get the right sided showing. If you have a two side ribbon you don't have to twist it.


then make a loop.
Now this ribbon is going to have four loops on each side. So generally I make the first set of loops the smallest. The second set of loops slightly bigger then the first. Then the third and fourth set are the same size and slightly bigger the second set.
  

Third. You will then take the tail and give it twist to have the right side of the ribbon showing and make the same size loop on the other side.


So her you have your first set of loops done.


Fourth. You will continue doing the same steps to make your second set of loops.


See how the second set is slightly bigger then the first set.


Fifth. Make your third set of loops.
  

Sixth. Make your fourth set of loops. I made the third and fourth set of loops the same size.


Here I'm showing you how I have been holding the ribbon and twists securely with my thumb and index finger.


Finishing your bow
Like I said before you can use wire or the tail of the ribbon to finish.

Wire Way you will feed the wire through the middle loop, where you have been holding the bow,wrap it around the back of your bow and twist it closed. Using wire makes it easy for you to attach the bow to items with the wire.


Tail Way you will take the tail of the bow
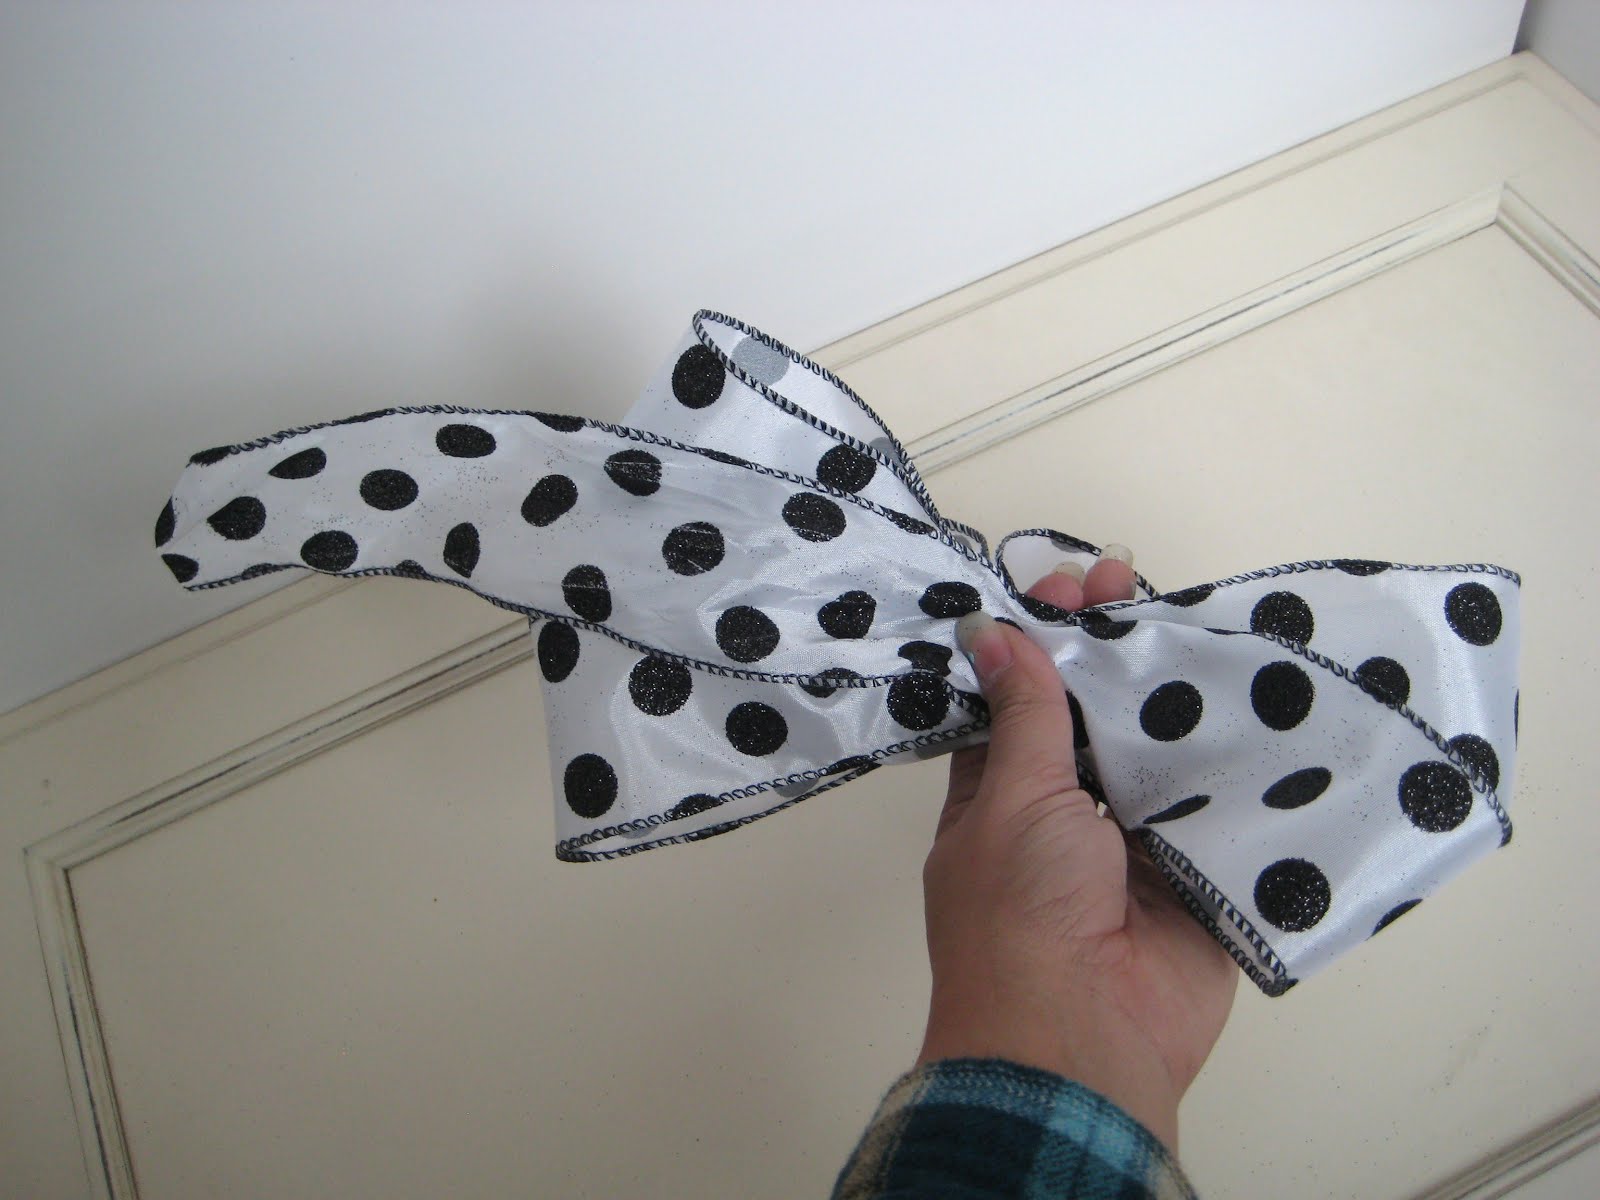

 and feed it up through the middle loop where you have been holding the bow.


once through the middle loop continue around to the back and tie it into a knot.


Pull the tail securely to make a tight knot.


Here is your beautiful finished bow. Now you can puff up the loops and make it look all pretty.


I used the remaining tail to tie the bow to my Heart/ Mason Jar Hanging. A bow just makes everything look more special. Now go forth and use your bow making powers to beautify the world.


Have fun putting bows on everything and don't forget to leave a comment.


Image Map


Thursday, February 7, 2013

Mason Jar / Heart Door Hanging


So when my sweetheart brings me home flowers one of my favorite things to do is to put them in my mason jar/ heart door hanger. They just welcome me home. Even when I don't have flowers or right now it's so cold outside here in Utah my fresh flowers would freeze. So I put in some fake flowers. Either way this is a great easy project. We did it for our Church Craft Day so for those of you who were not able to come, but wanted to know how to make it here is a step by step tutorial.

Note: In this tutorial I will also teach how to get that aged look by using Vaseline when painting the heart. You don't have to do that you can just paint the heart one color and skip to step five. Also, I will post another tutorial on how to make the bow so this post isn't so long.

Let's get started...

What you will need:

  • Wood heart (This one was cut out of wood thank you Tina Sillito, but you can find something similar at a craft store)
  • Quart Mason Jar
  • Wire Hanger
  • Paint (I used craft paint: American-Burnt Umber for the base coat and FolkArt-Jamaican Sea for the top coat)
  • Foam bush
  • Vaseline
  • Sandpaper
  • Ribbon


To Make:

First. Paint the heart. Like I said I will be showing you how to get the aged paint look. So first paint your base coat. I used American-Burnt Umber aka. brown.


Second. When the base coat is dry rub some Vaseline on your project with your fingers where you want the base coat to show through the top coat.


For this project I rub some on the sides and two spots on the front of the heart. Hopefully you can see where I put the Vaseline in the following picture.


Third. Paint on your top coat. I used FolkArt-Jamaican sea which is a pretty turquoise color.


Fourth. When the top coat is dry use your finger nail to scrape off the top coat where you applied Vaseline.


This is what it will look like after you scrape the paint off which is nice but we will take a step further...


Use some sandpaper to scrape up the top coat some more to give your project a beautiful aged looked. Generally you like to go along the edges, but there is no wrong way to do it cause the more you sand  the older and worn your project looks.


See how pretty it looks now.


Fifth. Now to attach the mason jar to the heart. Take the wire hanger and untwist it and use it to wrap around the mouth of your jar.


Sixth. On the heart there are four holes drilled. One set of holes are towards the edge of the heart and one set is lower and closer together. Feed the two ends of the wire hanger through the lower set of holes.


Seventh. On the back of the heart bend the wire up towards the other set of holes and feed the wire through them.


Eighth. Bend the wire up and twist it on itself to make a hoop to hang up your heart.


Ninth. Add a bow to the top of the wire. Like I said I will do another tutorial on how to make the bow. Then add flowers and hang and enjoy.


Hope you have fun with this project let me Know how goes and leave a comment.
  

Image Map


Monday, December 3, 2012

Family snow day


So while at Costco I bought something I thought I would never buy... a sled. But hey we have the frozen water stuff all over up here in Utah. So we took our sleds out on a test run and they are a winner with my 3 kids. Look at how happy they are but if you saw me behind the camera you would see on my face how cold I am.