


Here is the Bow Tutorial I promised you. They are very easy to make and most people will be envious of your bow making powers, but with great power comes great responsibility.
Supplies:
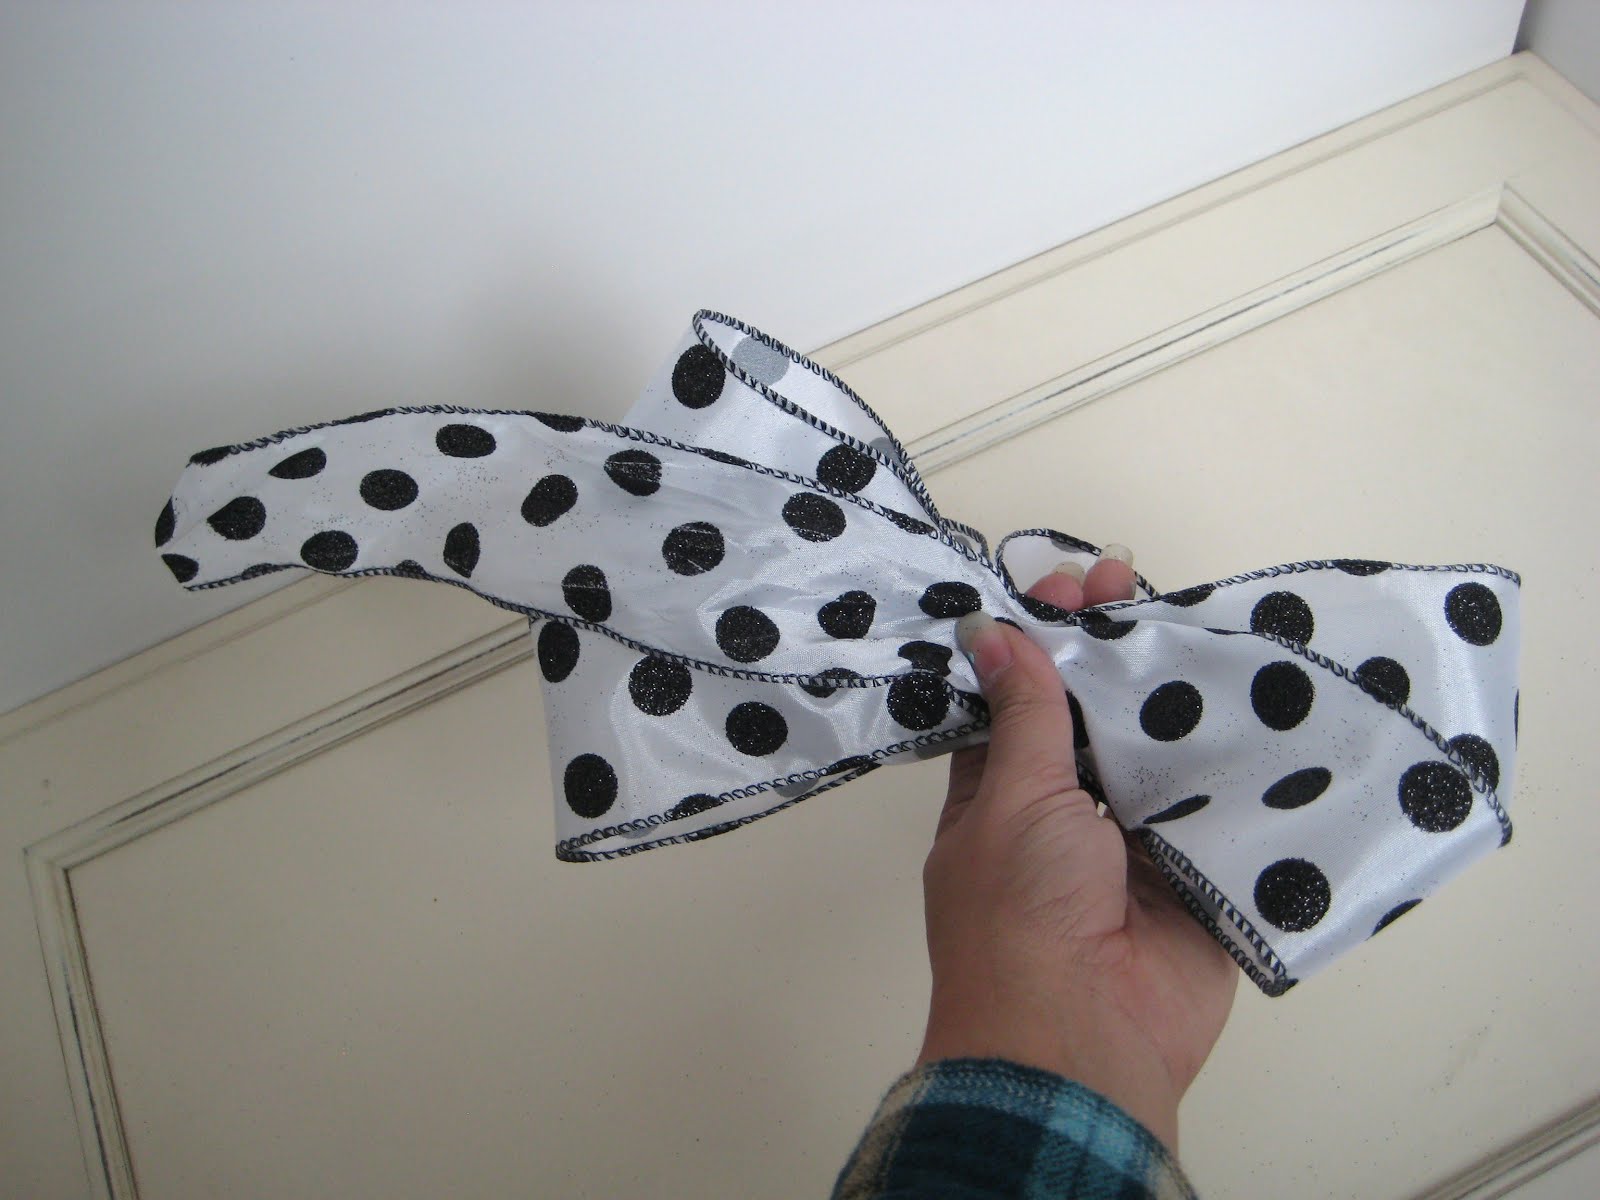
The best ribbon to use is wired ribbon, because its easily manipulated and holds its shape. For this bow I used a 8ft piece of 2" wired ribbon. I got this ribbon at Sam's Club after Christmas sale I love the black polka dots it goes with everything. Costco and Sam's ribbon is great, they come with 50yards at a reasonable price.

Here are a couple of notes before we get started:
1. Before you start there are two ways to finish this bow. One, you can use wire, and if you are using wire, you want to cut it before you start, cause it sucks to finish the bow and try to cut the wire with one hand. Trust me I've been there. Second, you can just make a knot with the tail of the ribbon.
2. While making the bow you are going to continually hold it together with your left hand.
Ok lets get started...
First. You will make a loop at one end of the ribbon. This will be the middle loop of you bow. Be sure to leave enough of a tail inside the loop to hold onto and secure later.

Second. This is now where I put my thumb through the middle loop and hold the bow together with my thumb and index finger till I'm done. With your right hand take the tail and give it a Twist, This ribbon is one sided so it requires you to twist it to get the right sided showing. If you have a two side ribbon you don't have to twist it.

then make a loop.
Now this ribbon is going to have four loops on each side. So generally I make the first set of loops the smallest. The second set of loops slightly bigger then the first. Then the third and fourth set are the same size and slightly bigger the second set.

Third. You will then take the tail and give it twist to have the right side of the ribbon showing and make the same size loop on the other side.

So her you have your first set of loops done.

Fourth. You will continue doing the same steps to make your second set of loops.

See how the second set is slightly bigger then the first set.

Fifth. Make your third set of loops.

Sixth. Make your fourth set of loops. I made the third and fourth set of loops the same size.

Here I'm showing you how I have been holding the ribbon and twists securely with my thumb and index finger.

Finishing your bow
Like I said before you can use wire or the tail of the ribbon to finish.
Wire Way you will feed the wire through the middle loop, where you have been holding the bow,wrap it around the back of your bow and twist it closed. Using wire makes it easy for you to attach the bow to items with the wire.

Tail Way you will take the tail of the bow
and feed it up through the middle loop where you have been holding the bow.

once through the middle loop continue around to the back and tie it into a knot.

Pull the tail securely to make a tight knot.

Here is your beautiful finished bow. Now you can puff up the loops and make it look all pretty.

I used the remaining tail to tie the bow to my Heart/ Mason Jar Hanging. A bow just makes everything look more special. Now go forth and use your bow making powers to beautify the world.


Have fun putting
bows on everything and don't forget to leave a comment.

No comments:
Post a Comment